“What do you want to get Nick for Christmas?” “A robot!” My daughter was adamant that her big brother needed a robot for Christmas. I hit the ‘net, and found many robots. I wanted to give him something that actually worked, that was educational, and that was affordable. Because watching Dad solder is no fun, I also ruled out anything that required soldering. That narrowed it down to two choices. “Which one do you want to give to Nick, Sally?” I asked, and started to explain their relative merits. “THE BLUE ONE!” And so it was decided that Nick and I would build an Elenco Sound-Following Robot. 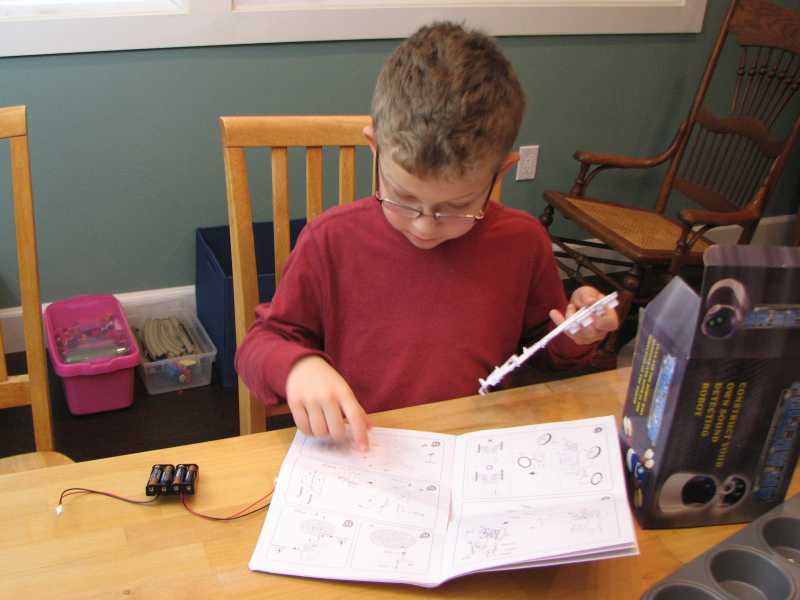 The kit is marketed for kids 13 and up. Nick is still in kindergarten, but loves anything motorized or electronic, so we did it together. The manual used exploded assembly diagrams to show how the pieces went together. Few words are used, and some skill in interpreting drawings is helpful in figuring out the steps. In other words, this was very much a collaborative effort for us. I figured out what went where, he found the parts, and we jointly did the assembly. Though one could probably do the project alone, there certainly were times when it helped to have four hands.
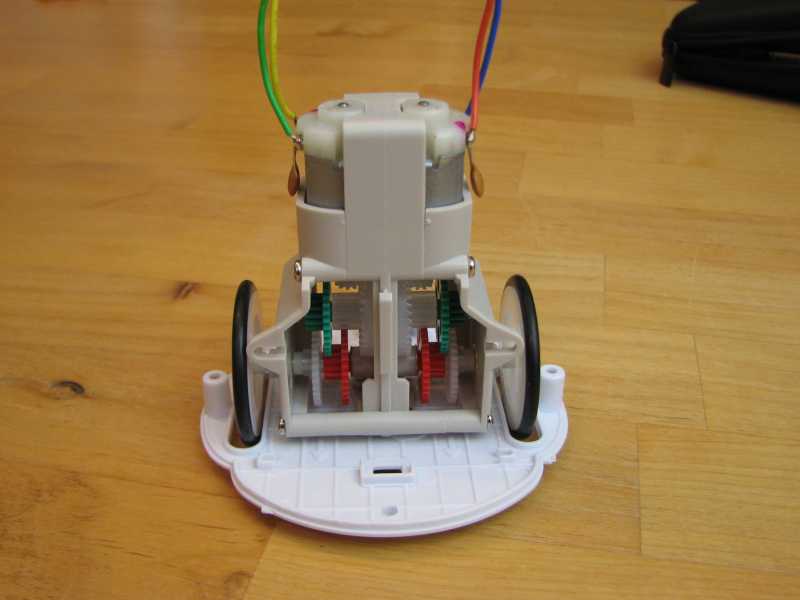 The robot is built around a drive train, the pieces for which are separately bagged. This suggests it’s common to other robot kits. Though the assembly instructions were clear, the gears were fiddly to assemble. At one point, we managed to undo almost all of our previous work when we tried to slip the last gear onto its shaft. No matter; we were able to put it back together. At this point in the assembly, with a drivetrain and a bottom plate, the possibilities of hacking this robot became clear.
 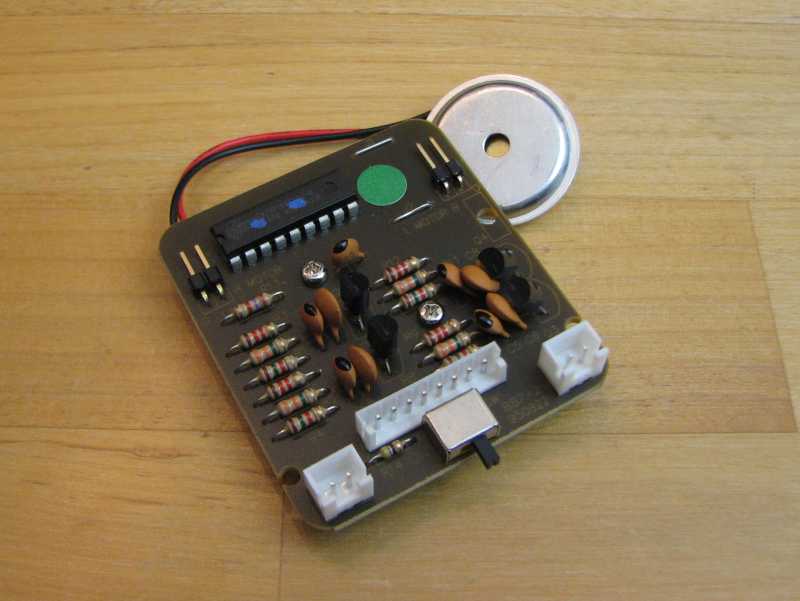 The controller for the robot comes preassembled. The IC on top of the board is a microcontroller. It is house-labelled for Elenco, but I suspect it’s a standard part with custom firmware. The manual has a schematic, so I compared the pinout to PICs and AVRs without finding a match. Maybe it’s a 68HC05 or another small micro. The assembly drawing pictured a socket under the microcontroller, but no such luck on this production unit. (By this time, I was started to get intrigued by the modification possibilities for this little robot.)
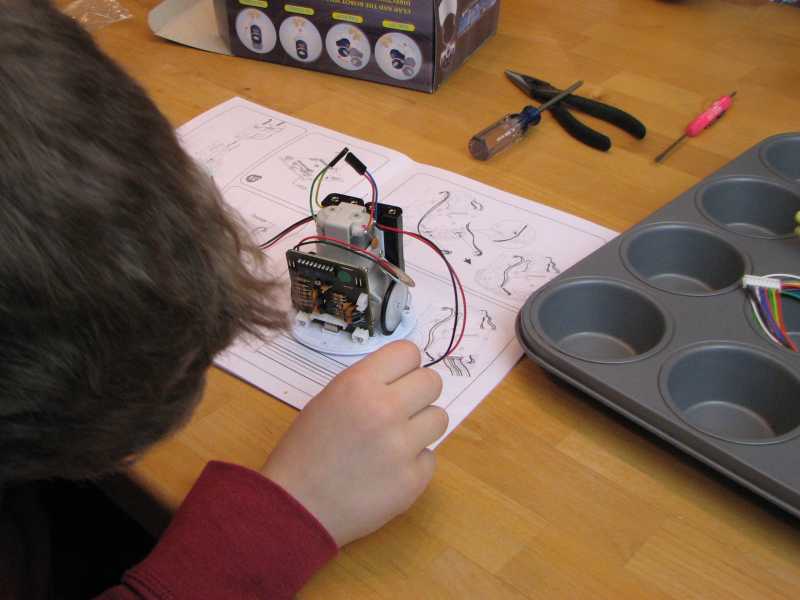
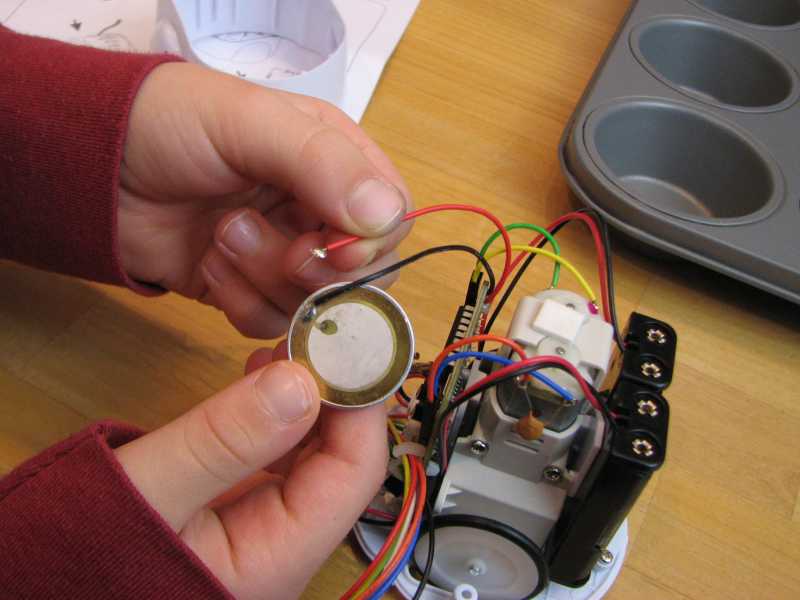
We ran into our first glitch when a lead broke off of the speaker. A trip to Radio Shack turned up another speaker that could be trimmed to fit.
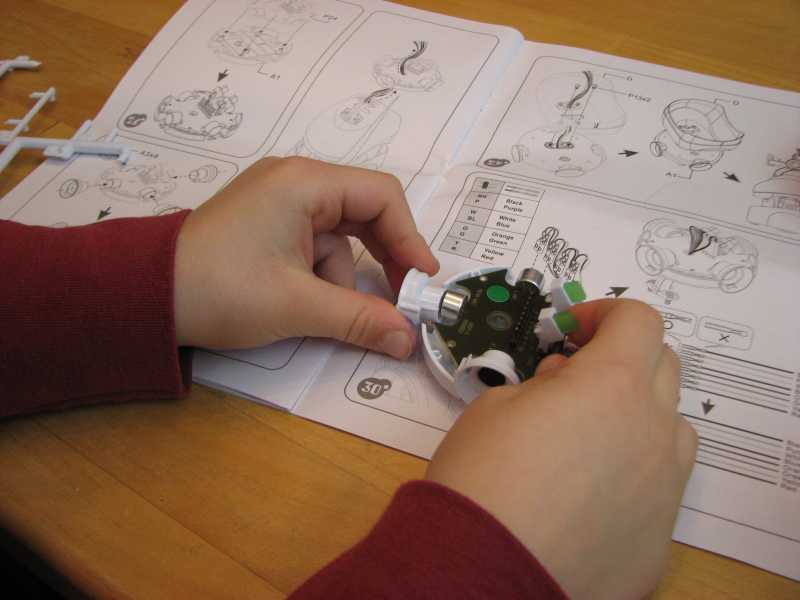
The “head” of the robot has its own PCB ringed by four microphones to detect sound. Two LEDs serve as “eyes” and give feedback on the direction of sound detected by the robot.
That’s one happy boy playing with his new robot. His mother is a little less excited about it. A sound-following robot likes it noisy. Clap! Clap! Clap! Clap! Clap! Clap! Clap! Clap! Clap! Clap! Clap! Clap! Clap! Clap! Clap! Clap! Clap! Clap! Clap! Clap! Clap! Clap! Clap! Clap! Clap! Clap! Clap! Clap! Clap! Clap! Clap! Clap! Clap! Clap! Clap! Clap! Clap! Clap! Clap! Clap! Clap! Clap! Clap! Clap! Clap! Clap! Clap! Clap! Clap! Clap! Clap! Clap! Clap! Clap! Clap! Clap! Clap! Clap! Clap! Clap! Clap! Clap! Clap! Clap! Clap! Clap! Clap! Clap! Clap! Clap! Clap! Clap! ….
