The Dayton Hamvention is coming fast, and for me this year, that means it’s time to get organized. As anyone who works or plays with electronics soon learns, parts organization is a problem. In addition to not always remembering what I had, finding things that I know I have can be hard. This has especially been a problem in the last year, as I got back into the hobby after a few years away. I have a good memory (at least sometimes!), but no one can remember hundreds of part numbers, values, and locations for years on end.
This caused me some concern as I look forward to my first Hamvention trip in several years. Hamvention has a giant flea market, full of wonderful junk (junque?) to buy. Without knowing what I have, how will I know what to buy?
On top of that, as I’ve worked on projects recently, my frustration has grown with not being able to find parts that I know I have… somewhere.
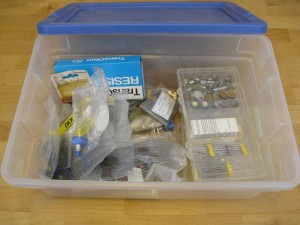
Though I’ve tried at least four different ways to organize my parts over the years, none has worked particularly well. This time, though, I have an edge on the chaos: My dear wife, Lyn, who has spent years in inventory management and running warehouses. With plenty of her help, I think I’ve finally hit on an effective system.
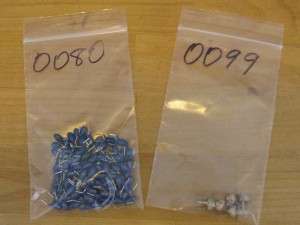
The first step is little bags. Each baggie holds one unique kind of part. Sometimes it’s a single part number, but for commodity components, I will group parts with different manufacturers or part numbers as long as the specifications are identical. In other words, all of my 100 nF 50 V X7R monolithic ceramic capacitors can go in a single bag, but 100 V versions go into their own bag, the Z5U version gets its own bag, and the ceramic disc version gets its own.
Each bag gets a unique number. I started at 0001 and worked my way up. I used four digits because I suspect I might hit 1000 bags by the time I’m done.
The cheapest place for good-quality 3×5″ poly bags that I’ve found, once shipping costs are taken into account, is my local Michael’s store. (Shopping there for bags was another one of Lyn’s suggestions.)
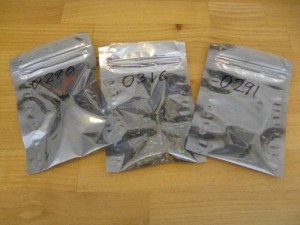
For the semiconductors, I splurged and bought a pack of static-shielding bags from Mouser. Rather than judge the relative static sensitivity of different components, I decided to put all of the transistors, chips, and diodes in static-shield bags, even if robust parts like 2N2222‘s probably would survive fine without them.
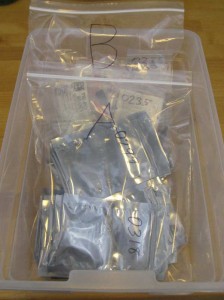
Next, the small baggies are stored in 1-gallon bags. Several 1-gallon bags go in a bin.
The bin is numbered, and the 1-gallon bags within the bin are lettered. That means every baggie can be identified and found by combining the bin and bag codes and the baggie number. “1-B-0067”, for example, would send me to “bin 1, bag B, baggie 0067”.
Since baggies have unique numbers in the whole system, I can move them around from bag to bag or bin to bin as needed, and I can reuse baggies for different kinds of components as my stocks are depleted.
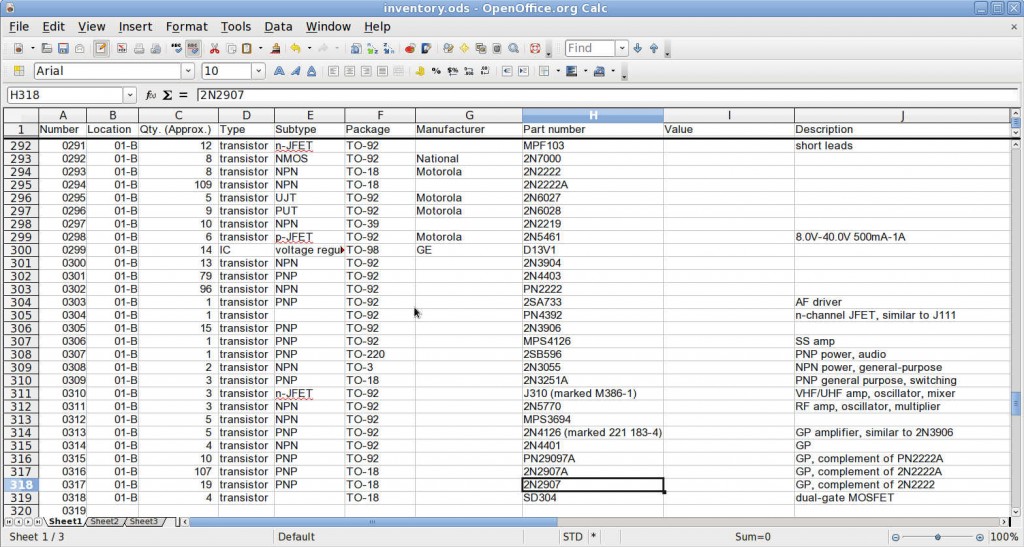
Tracking these numbers in my head would be no better than where I was, so the final piece of the system is a spreadsheet. With columns for the number and location, I can find things fast. Additional columns have the type and subtype of component (such as transistor/n-JFET, or capacitor/tantalum), the component’s package, manufacturer, part number, and value, and a description field.
I try to be as specific as I can, and I try to be consistent with nomenclature, to make searching easier later on. For example, I use units of μF, nF, and pF for capacitors, and I do not use decimal μF for capacitances below 1 μF. In other words, all of my 0.1 μF capacitors are listed as 100 nF, and the 0.01 μF capacitors are listed as 10 nF.
I thought about using one of the web-based inventory programs that are available, such as PartKeepr, but there is something to be said for keeping it simple, and besides, migrating a spreadsheet to newer software over the years will be easier than migrating a database.
The big success for this system may also be its biggest failing. As I work through my existing parts collection, I’m finding less and less that I want to buy at Hamvention. I already have all the common capacitor values I am likely to need for several years, and I found PN2907 PNP transistors cached in three different places, together amounting to what will probably be a lifetime supply. The oddball project-specific stuff I’ll just buy from Digi-Key or Mouser when I need it.
The cool part will be putting the spreadsheet on my phone, so I can check my inventory on the spot in the flea market. That should keep me from buying another 100 PN2907’s!
How have you organized your parts? Do you have any tricks to share?
