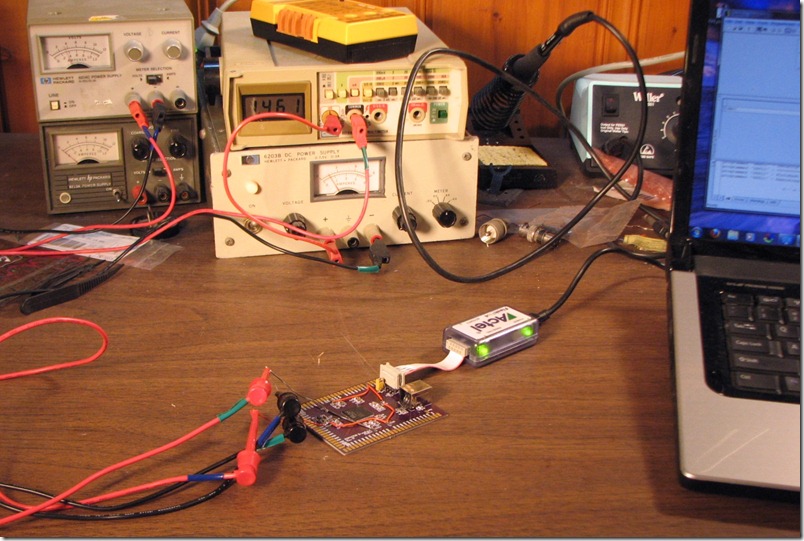
There comes a point in any project when one has to find out if it works, but first, there is the “smoke test”: Turn on the power and see if anything goes up in smoke. I smoke tested the A3PN250 FPGA breakout board this weekend, and it passed, or at least it failed to emit smoke. In any event, no smoke was emitted and the board survived. In fact, the board works. I talked to the board with a FlashPro4 programming pod and my rewired JTAG cable. The FPGA passed the pod’s signal-integrity check and identified itself correctly, so it is certainly alive.

I follow a few rules of thumb when smoke testing. These aren’t things one learns in books, but instead from other engineers, so they are worth writing down and passing on.
- Power up the board using bench supplies, even if it is ultimately to be battery-powered. Most batteries can deliver a lot of energy quickly, which not beneficial to the health of an untested circuit.
- Current-limit the supply current, to limit the damage should something go awry. Most ICs can handle at least 20 mA on any I/O pin without damage, so if the board will power up with only a few mA, like this one, 10-20 mA is a good current limit to set. For bigger boards, you will have to use your judgment. The exception is if the board has switching power supplies. Some switchers can be destroyed by insufficient input current, and switchers may pull a surprising amount of current during power-on as they charge up the decoupling capacitors downstream. Consider not limiting current, or at least being generous with it, if you are powering up a switcher.
- Connect every supply through a meter configured to read DC current. As soon as you flip the switch, or switches, check the current readings to make sure they make sense. You will quickly catch a shorted or open supply rail this way. Do make sure the meter is rated to handle more current than the power supply could put through it. Do not trust the meter on the power supply. It may not have enough resolution to show you what is going on.
Finally, if a board has built-in power supplies, it is a nice luxury to connect each supply to the circuits it powers via a removable jumper, such as a 2-pin, 0.1” header. The jumper can be disconnected to smoke-test the board in stages (power supplies first, please!), it gives you a point to connect a bench supply if the power supply does not work, and it makes a nice place to connect a meter to check the current drawn from the supply. I never see this feature on mass-market boards, but for prototypes and hobby designs, it is well worth it.
If you have any tricks for smoke testing that you would like to share, I would love to hear them.